
- Home
- Acrylic Painting Shop
- Tutorials
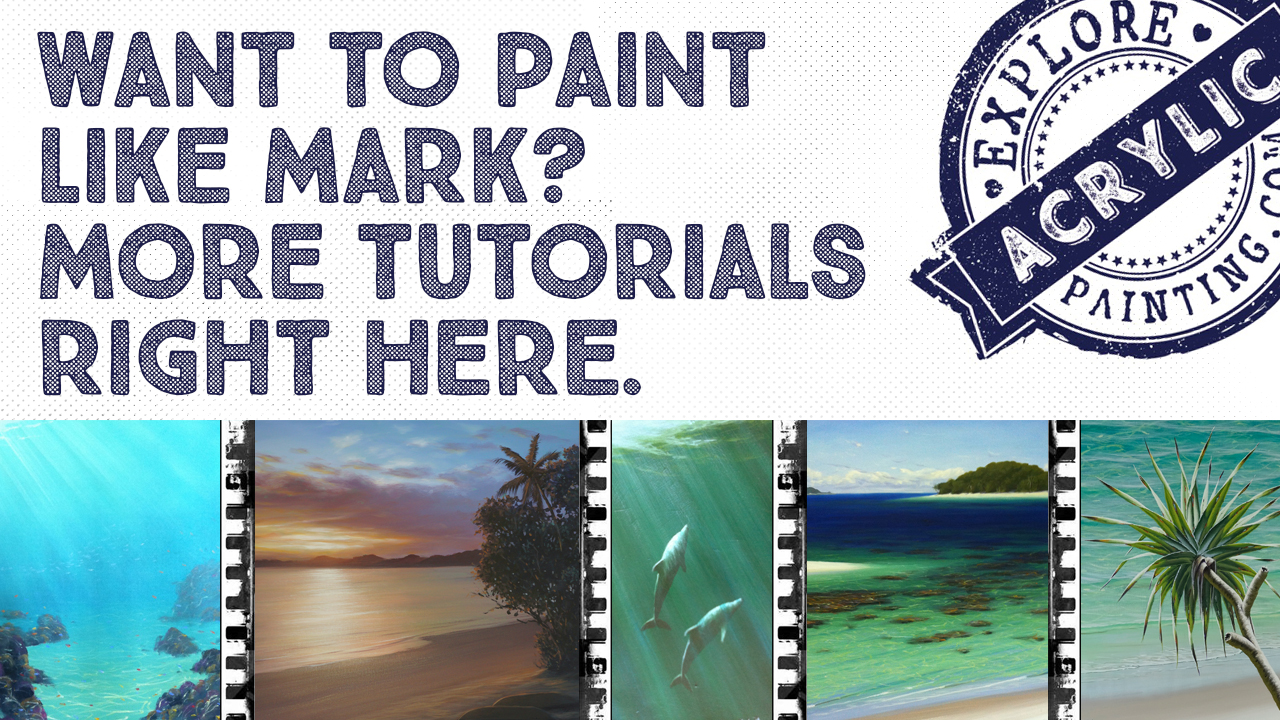
- Painting Pandanus
- Painting Pandanus
Painting Pandanus.
Don't Let These Screw Palms Screw With Your Head!
One of the things I seem to be well known for is painting pandanus. It’s earned me the nickname as “Pandanus Man” (it’s better than some of the other names I’ve been called).
They are incredibly interesting plants for many reasons, but particularly for me, painting them is challenging and rewarding. There are lots of lovely twists and turns in the leaves and trunks, allowing for unexpected reflections of colours. Their structure gives a wonderful opportunity to create the illusion of dimension.
Added to that they live near the ocean, so you can paint a wonderful evocative beachscape in the background. Depth, depth and more depth.
We’ve had a lot of requests about painting pandanus, so thought we’d build this tutorial with a whole pile of useful tips and info to take some of the pain out of painting your pandanuseseseseses.
Slow down there Nelly, before we begin painting pandanus, we need to spend some time looking at pandanus leaves first, (and get to the trunks later). We’ll observe the range of colours in a pandanus leaf. You will discover yellows, greens and browns, some whites and blues in reflections (and more), and even some purple. On the dying tips you’ll find some unexpected bright flashes of colour.
The leaves tend to twist - this twisting recurs right through most leaves in slightly different places - unless it folds over, in which case it flattens across the top of the fold.
Start making marks by drawing out long lines to practise. Warm up your eyes and arm, and recreate the basic structure of the leaves. I’ve used thinned Dioxazine Purple and just blocked in the dark shapes and the lines. This is a great way to get a sense of how they work. See images below.
Let’s look at the trunk (branches).
We can shape the lines painted around the branch to create the illusion of the branch either coming toward you or going away from you. Practise creating this illusion for a while, only using tone at this point.
There’s a lot of scope to exaggerate this technique later, when it comes to using colour, by bouncing reflections off the sand on the underside of the branches, or reflecting the sky on the top of the branches.
We can also use perspective to create the illusion of the trunk receding into the distance or coming towards us. (Ie being larger at the top of the branch gives the illusion that that branch is coming towards us). This is a really effective tool to help “bring” the viewer into your painting.
Fundamentally a pandanus branch is a tube with lots of rings around it.
Look at the way a branch attaches to a tree - the “ring” section seems to split and the branch tends to grow out of it - it almost “squeezes” the branch out.


Dish Out Some Paint! The Right Colours For Painting Pandanus :)
- Dioxazine Purple
- Forest Green
- Cadmium Yellow Medium
- White
- French Ultramarine Blue
- Cadmium Yellow Light
- Burnt Umber
An aside: I have a “rule of 3”. I break every “incremental shift” into 3 sections (as a minimum). I make each gradation at least 3 shifts in colour. This adds realism and dimension to your paintings. The great thing about this is it trains you to look at things in shifts of colour (in the real world). This process makes gathering information less overwhelming.
Using my paint recipe of Trees/Foliage - Forest Green, Dioxazine Purple and Cadmium Yellow Medium (more Forest Green than anything else) block in the shadow areas using this colour. Don’t put this colour where light would be hitting the leaf.
Add a little more Cadmium Yellow Medium and Forest Green to that mix, and add a line along the centre, and blend it to soften the transition between the highlights and the shadow.
Now grab some White and Cadmium Yellow Light and mix it with a little bit of the last combination of colours, and paint it next to the areas of shadow, blending into them and away from them. This represents the areas that are not being hit by direct light or in direct shadow.
Blend this colour into the shadow area so that it’s a soft transition.
TIP: When there’s a lot of contrast between the dark and light areas, you have more scope to add more “transitional” colours in between. This contrast creates the illusion of a bright day, and an effective transition creates realism when painting pandanus.
Now use Pure White and a teeny tiny amount of Cadmium Yellow Light and paint the areas that are directly hit by the sun, blending into the slightly darker colour.


Let’s take a moment to investigate the trunks, and how to add colour to create the illusion of the branches coming forward and/or receding.
Use a combination of Burnt Umber and Dioxazine Purple and paint a broad line in the centre of the branches.
Add Cadmium Yellow Medium to the above mix, and using brushstrokes wrapping around the shape of the trunk, paint this in on the underside of the branches coming towards you (oranges and yellow underneath create the illusion of the light from the sand bouncing back onto the underside of the branch).
Then, for the branches receding into the distance, you will see more blue (sky reflected) on the topside of these branches, and less gold on the bottom of them. Add French Ultramarine Blue and White (and a little bit of Burnt Umber) to create a line (following the curve of the branch) on the topside of the branch to create the illusion of the sky reflected.


So, if you’re game, let’s use all this information and start painting pandanus! (Don’t get too good - I don’t need the competition).
We’re going to block in our pandanus head and leaf shapes. It's a good idea when painting pandanus, to decide early which branches are leaning towards you and which are leaning away, using those directional lines around the trunk.
If you feel confident you can go straight in with Dioxazine Purple thinned, or use pencil or chalk first. Don’t worry too much as this is just the setting up process. If your painting looks a little unbalanced, you can always add leaves coming from a different direction or a branch at a later date.
TIP: Another name for the pandanus is “screw palm” - this is because the leaves rotate out from the centre point “hub”.
TIP: When painting pandanus leaves, think of long skinny triangles.
TIP: The leaves appear thicker closer to the tree, and then get “thinner” as they move away from the trunk.
Paint in your trunks being sensitive as before to whether they are coming towards you or pushing away from you.


Using our Paint Recipe for Trees/Foliage, block in all the leaves which are in shadow. Make the colour a little “yellower” than before, so more Cadmium Yellow Medium and Forest Green, and a little Dioxazine Purple to stop the colour from going “lolly”.
Block in all leaf areas except those directly hit by the sun.
When painting pandanus, you should make a decision about WHERE your tree is. If it is in a predominantly mottled shady spot, block in your shadowed leaves - don’t worry about leaving white areas for the sunlit parts.
If your tree is in the bright sunshine, use your darkest darks and lightest lights straight away.
This example is in the shade.
So now, mix French Ultramarine Blue and White and add a line of this colour to the top edges of your leaves which are reflecting the sky.
Considering the shapes, paint sky coloured highlights to give the leaves volume.


Then, use the Paint Recipe for Trees/Foliage of Forest Green, Dioxazine Purple and Cadmium Yellow Medium (more Cadmium Yellow Medium) and paint the light from the sand (or whatever is under the tree) on the underside of those leaf areas where they attach to the trunk.
You can build up this shift in colour by adding more Cadmium Yellow Medium to this mix of colour and add it to the leaves closer to the source of the bouncing light (these leaves are closer to that source, and therefore will reflect more of this light).
Consider - when painting pandanus you are “sculpting” the shapes of these leaves (particularly where they meet the trunk). The good news is the shape on the underside (the yellow mix), is generally the same as the “top side” (blue mix).
Now to add some “zing” - Using a mix of Burnt Umber and Dioxazine Purple, paint the edges of the tips of the leaves and “kill” the ends.
Mix a nice bright red and Cadmium Yellow Medium and add flecks of this orange here and there. Then come back with neat Cadmium Yellow Medium, and paint this in around the edge of the dead leaf tips.
You can add some holes to your leaves using the background colour. The leaves are often quite “beaten” up. Come back with a little Burnt Umber and Dioxazine Purple to put a little “dead pandanus tree colour” around the hole (or a bit of orange)
Pandanus trees have hard lives - your painting will look better in my opinion if you include the scars.
Using pure White add highlights on the trunk using the shape of the trunk, and roughly “triangular” shapes to suggest the light filtering through the branches.
To create the impression that the sun is coming through some leaves ie “backlit” leaves, mix Forest Green and Cadmium Yellow Medium, and add to leaves strategically. (Look for where the light would be shining through gaps in the branches above, and hitting the other side of the leaf that you’re looking at).
TIP: When painting pandanus, as with everything, look for the light.
Some parts of this light will also hit the leaves directly. Use pure white and add softly here and there. Add a line of pure white also along the edges of the leaves where the light is hitting directly. Anywhere it is backlit, you will paint that white edge in.


Painting pandanus well is an incredibly complex undertaking. Hopefully this information will help get you started. I suggest using a reference photo :)
We have the full 50 minute downloadable and streamable video tutorial on Painting Pandanus available now. In the meantime, here's a shortened version of the same tutorial for your enjoyment :)


Search This Site:

WTH is Acrylics Anonymous?
For more great painting tips, subscriber only specials and zingin' humour (hmmm, maybe?), subscribe to our monthly e-zine, Acrylics Anonymous. It’s fast, free, and we don’t send you junk. As a valued subscriber, you can purchase our 3 pack of downloadable how to paint with Mark Waller DVDs for only $80, or our downloadable V-log “Coral Reef - Underneath” for only $12.
See your subscription confirmation email for more details.
Subscribe here:
Recent Articles
-
Workshops past. Been & gone. Delve into past notes, info and stories.
Apr 20, 26 07:27 PM
 Mark Waller's workshops past - discover what was learned about, talked about, laughed about and consumed with gusto!
 -
Upcoming Workshops with Mark Waller
Apr 06, 26 11:49 PM
 Upcoming workshops & tutorials in your local areas, check here!
 -
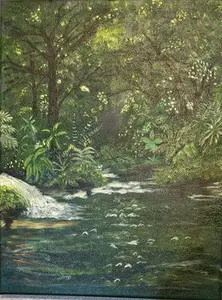
Mangrove of Costa Rica
Feb 09, 26 08:25 PM
 I often visit my sister in Costa Rica where she and her husband live. They have a vacation destination business. People come to stay at one of the homes
 Subscribe to this site!


)
![]()
About Us | Contact Us | Sitemap | Disclaimer | Privacy
Our Partners:
Copyright© 2007- All Rights Reserved