
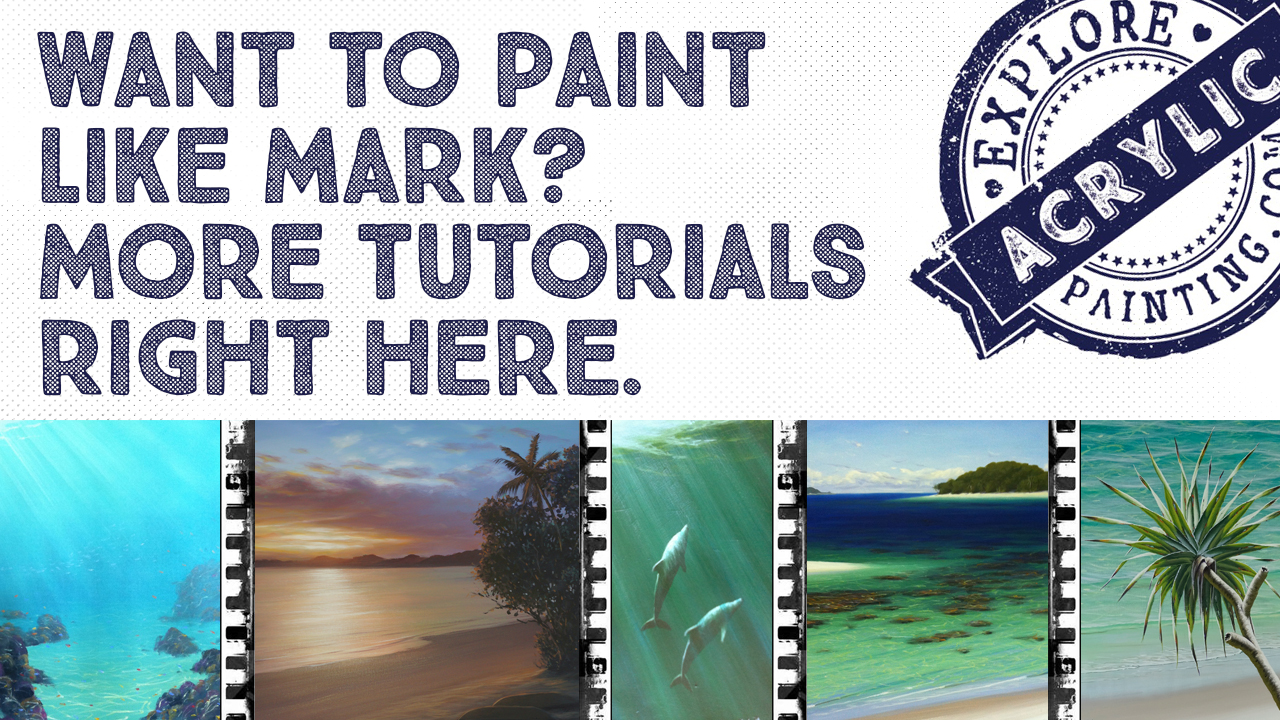
Hone Your Dry Brush Technique. Understand The Possibilities.
Add texture and colour to your work.
Discover strategies to lift your paintings using dry brush technique.
Understanding the possibilities of dry brush technique can create some wonderful effects. From creating soft fluffy clouds, to texture on a tree, it’s worth spending time developing your dry brush technique.
As with all brush techniques, it’s important to have a very clear understanding of the mark you want to make BEFORE you make it.
In order to understand the marks your brush will make, there are a few things to consider.
When painting realistically, to create a soft “fluffy” effect, you will need to use a brush which is soft and round.

Understand the mark you want to make first.
A brush with a hard, sharp edge will leave a “sharper” mark. This brush is probably going to be harder to control when painting soft things - like fluffy clouds for example.
An excellent place to use a sharper, firmer chisel brush would be when painting the backs of waves. Using it on its edge can suggest the reflection of the sky.

Acrylic paints often dry very flat, and it can be hard to create the illusion of grain and texture. Dry brush technique can be your salvation.
Creating some build in the underpainting, and then dragging a dry brush over the high spots, is a lovely way to enhance parts of your painting.
As an example, a VERY dry round, soft brush, dragged over the foreground (sand areas) of a beachscape, can create the impression of grains of sand.
As an extra bonus, that addition of tiny flecks of colour can alter the warmth or coolness of your sand.
It’s a great way of altering shades and hues very subtly.
The process can be repeated over and over again to get the strength and colour required. It can be quite non-committal.
You can also use this technique with smaller brushes. Drag them gently and strategically to create the impression of branches in the distance, or grassy tendrils on sand dunes.
Here’s a couple of examples.
Make sure you experiment with the possibilities of dry brushing!


An Exercise!
Spinifex Grass - dry brush technique
Materials:
Forest Green
Dioxazine Purple
Cadmium Yellow Medium
Burnt Umber
White
Canvas/paper/something to paint on (white-ish surface)
2 x chisel brushes (flats)
1 large (approx 2.5cm across)
1 small (approx 0.5cm across)
What to do:
Mix a touch of Forest Green with the tiniest hint of Dioxazine Purple. Add Cadmium Yellow Medium and White. You should have a slightly dirty, greeny grass colour.
Load your large brush and BEFORE you put it on your surface, test it on something else (your easel, husband/wife, neighbour’s cat, etc). Take most of the paint off and apply it gently & strategically to create grassy bits.
You should be able to create marks something like this:

You may need to occasionally add a touch of medium or water to your paint (which sounds dumb because it’s supposed to be a dry brush technique. Nevertheless...)
Repeat the above process with a lighter version of the above colour. (Add more White and Cadmium Yellow Medium). Paint some highlights here and there. This will be a very subtle effect.

Take your small brush, load it with some Burnt Umber thinned with a little water. Remove most of the paint, and test it again before you paint it on your “real” exercise.
Use the edge of your brush, and gently run a loose scraggly line at the bottom edge of the grasses extending out into the sand. This creates the impression of the grasses sending out runners.

Go back to your large brush. Grab some Burnt Umber, and remove most of it from the brush. Now drag that VERY gently and subtly over the “sand” in the foreground. Voila! Warmth. And grains of sand.

Very simple! This is a great way of creating sand dunes, which can subtly lead viewers into and around your painting. A handy and subtle compositional tool.
Back to Explore Acrylic Painting Home Page
Search This Site:

WTH is Acrylics Anonymous?
For more great painting tips, subscriber only specials and zingin' humour (hmmm, maybe?), subscribe to our monthly e-zine, Acrylics Anonymous. It’s fast, free, and we don’t send you junk. As a valued subscriber, you can purchase our 3 pack of downloadable how to paint with Mark Waller DVDs for only $80, or our downloadable V-log “Coral Reef - Underneath” for only $12.
See your subscription confirmation email for more details.
Subscribe here:
Recent Articles
-
Upcoming Workshops with Mark Waller
May 26, 26 01:20 AM
 Upcoming workshops & tutorials in your local areas, check here!
 -
Workshops past. Been & gone. Delve into past notes, info and stories.
Apr 20, 26 07:27 PM
 Mark Waller's workshops past - discover what was learned about, talked about, laughed about and consumed with gusto!
 -
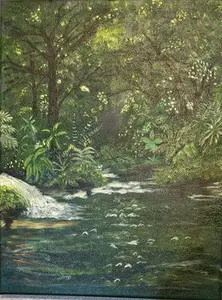
Mangrove of Costa Rica
Feb 09, 26 08:25 PM
 I often visit my sister in Costa Rica where she and her husband live. They have a vacation destination business. People come to stay at one of the homes
 Subscribe to this site!


![]()
About Us | Contact Us | Sitemap | Disclaimer | Privacy
Our Partners:
Copyright© 2007- All Rights Reserved