
Traveling with Acrylic Paints. How to Avoid Disasters and Have Fun.
Simplify your kit.
Allow your spontaneous creativity to flourish when traveling with acrylic paints.
Traveling with acrylic paints can be fantastic. You never know when that creative impulse will hit.
The greatest thing about traveling with acrylic paints is the DRYING TIME and versatility. Yippee! You can use good quality acrylic paints as watercolours or you can bust out some thick impasto acrylic techniques with them.
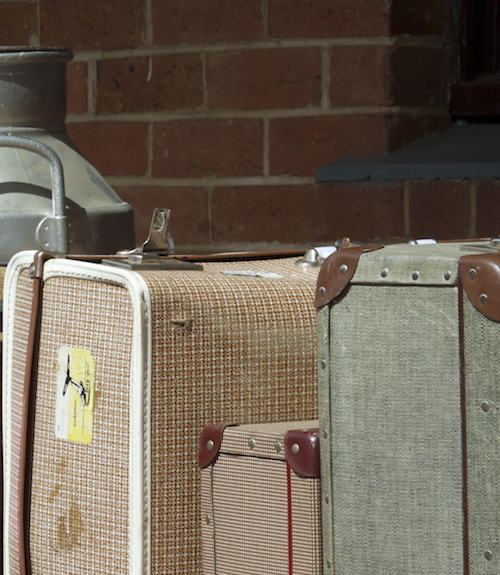
The dilemma will always be though, what to take, how to take it, and how heavy it is. There can be some hideous dramas though. Read on, dear interweberist.
Let’s look at what to take firstly. It will depend on a few things.
- Length of trip
- Destination
- How much time you have to paint
No one knows your arts practice like you. You know what you can get away with.
Lay all your paints out on a table, and CULL. Now is a great time to consider limiting your palette. And of course tubes are going to be more practical than pots.

When paring it right back, I use only the cool primaries and white. You can always warm up cool colours to a certain extent. Cooling down warm colours however?
Limiting your palette can also help create a cohesive painting. It’s harder (but not impossible) to put colours in that don’t work. It also trains you to mix colour more effectively. And that’s gotta be good.
The Atelier Interactive colours by Chroma I use, are:
- Alizaren (cool red)
- Pthalo Blue (cool blue)
- Cadmium Yellow Light (cool yellow)
- Titanium White

If I have a bit of extra space I recommend adding:
- Dioxazine Purple
- Cadmium Yellow Medium
- French Ultramarine Blue
- Burnt Umber
Paints sorted.
Now, do the same with your brushes. It’s harder to get away with just one brush here. Pick 3. One for large areas, a smaller one for the intermediate stuff, and a fine one for detail. Flats are great. Used on their edge they’ll do fine lines, and on the flat will paint bigger areas. 2 brushes in one.
Before we go on there is one horrific nightmare associated with traveling with acrylic paints. And you can probably guess what it is. Make sure you:

- Tighten the lids of your paints
- Then tape the lids
- Then wrap the paints in something porous (like a rag)
- Then wrap everything in plastic
This advice comes from experience. A pot of Napthol Red can cover approximately 7 football fields. Skin, hair, behind the ears. Socks. You name it, Napthol Red was there.
The air pressure from flying seems to force paint into incredible places.
Next. Take a rag. Plan to leave it behind.
Now you need something to keep your water in. A reasonable sized old margarine container is a simple solution (jam your rag in it). You can purchase dedicated collapsible water pots for traveling with acrylic paints which seem pretty cool.

Palette. While I HATE waste, particularly plastic waste, a cheap shower curtain, cut into 600mm x 800mm squares, will serve as a great palette to lay on a table. You can tape it to foam core squares (I’ll go into these in a minute) if a table is unavailable.
Painting Surface. Possibly one of the greatest inconveniences of traveling with acrylic paints is having an appropriate surface to paint on. Stretched canvas, while relatively light, can be awkward and take up a lot of room. Unstretched canvas could be an option. However, it leaves you with the dilemma of supporting it while painting on it.
I’ve found a better option to be using pre-cut and pre-primed squares of 600gsm watercolour paper. Prep them before you leave, with a sealer like binder medium or gesso.
Separate them with sheets of baking paper, and sandwich them between two slightly larger pieces of foam core, tape at the edges and voila.
(TIP: make sure it fits in your suitcase. You may laugh, but….).

Ok. Surfaces done. These pieces of foam core can then double as your shower curtain/palette support. AND you can support your watercolour paper with them as well (don’t forget to pack bulldog clips).
Do you need an easel? I like to have one. There are some sensational lightweight and inexpensive collapsible easels.
A couple of things to consider:
- Will it extend easily to a height that you’re comfortable to work at?
- Will it support your artwork firmly?
- Will it stay extended in the face of a vigorous and robust painting style? Collapsible easels are not great when they spontaneously collapse. (Insert curse here).
- How complicated is it to set up and pack away?
- Get the lightest, most robust easel you can afford.
Using some of these tips, on my last overseas painting trip, my entire painting kit weighed less than 1.5kg.
And of course - check with your airline about safe substances. I’ve never had an issue with acrylics or acrylic mediums, so long as they’re in my checked baggage. I don’t recommend trying to take them as carry on luggage.
|
For more great tips and techniques you can use on your travels and in all your painting endeavours, check out our Tips & Techniques DVD, available as a hard copy and download. Or, click here for our 3-pack of DVDs (much cheaper to purchase them all together). |
 |
Top of Traveling with Acrylic Paints
Back To Painting With Acrylics
Back to Explore Acrylic Painting Home Page

Search This Site:


WTH is Acrylics Anonymous?
For more great painting tips, subscriber only specials and zingin' humour (hmmm, maybe?), subscribe to our monthly e-zine, Acrylics Anonymous. It’s fast, free, and we don’t send you junk. As a valued subscriber, you can purchase our 3 pack of downloadable how to paint with Mark Waller DVDs for only $80, or our downloadable V-log “Coral Reef - Underneath” for only $12.
See your subscription confirmation email for more details.
Subscribe here:
Recent Articles
-
Storm Coming
Mar 25, 24 09:41 PM
 I repainted over an old canvas. This painting just painted itself in under an hour. I didn't even have a fixed reference in mind - it just seemed to flow.
 -
Upcoming Workshops with Mark Waller
Mar 05, 24 11:09 PM
 Upcoming workshops & tutorials in your local areas, check here!
 -
Workshops past. Been & gone. Delve into past notes, info and stories.
Feb 26, 24 09:42 PM
 Mark Waller's workshops past - discover what was learned about, talked about, laughed about and consumed with gusto!
 Subscribe to this site!


![]()
About Us | Contact Us | Sitemap | Disclaimer | Privacy
Our Partners:
Copyright© 2007- All Rights Reserved
New! Comments
Have your say about what you just read! Leave me a comment in the box below.