- Home
- Painting Tutorials
- Painting Waves

Painting waves.
Find the information you need!
When you discover the nuances, painting waves with life and movement is exciting, easier and so much fun.

Painting waves, and doing it well, can be incredibly difficult, particularly in the early stages of your painting journey. Once some fundamental principles are understood however, the process becomes much easier.
Understanding the elements that make up the appearance of water is the first (and most important) step.
Now that you have read or re-read the painting water page you will be prepared.....It has to be said, "lets dive in". (I know, I know, sorry. It was there.).
To my mind, creating a painting comes down to two skills:
√ Your conceptual and perception skills; and
√ Your physical skills
Your conceptual skills relate to your ability to find the information you need, and to interpret it in a way that makes your paintings powerful. On this page we are going to deal with your conceptual and perception skills.
Your physical skills are your ability to manipulate your paintbrush and paint, to create the painting.
One of the most beautiful things about painting waves is also one of the most challenging. Change the light, or the wind for example, only a tiny amount, and it changes its personality completely. The point I'm trying to make (probably very clumsily) is that when painting waves, all the elements have an effect on one another.
Some general rules:
Rule 1:
In most cases , the face of a wave is a window to what is under (or in) the water. On a clear day with clear water you will see the bottom (sand rocks etc). If the water is murky you will see the "colour" of the water. The steeper the wave, the greater the view you have of what is beneath the surface.
Rule 2:
The back of the wave reflects whatever is roughly behind it. The colours of a sunset or low clouds will show up there.
Rule 3:
Waves are made up of ....... waves. Some of you have noticed that a wave is rarely ever perfectly smooth. Close observation will show that those "bumps" are in fact smaller waves and as such are subject to the rules 1 and 2. A stormy, windy day will emphasise those smaller waves, often to the point where the underlying swell is almost lost amongst the chaos of movement.

Despite the fact that waves take on many different shapes and moods, the above rules apply when painting waves, no matter the circumstances.
Your job as a painter, is to discover (and exaggerate, or de-emphasise where necessary) how these rules apply to one another. In other words, if the water is murky, you can't see the bottom. If the sea is turbulent and dirty, you will see a lot of the dirty colour, but none of the bottom. If the sea is calm and clear, each wave will be a window into what is underneath, and waves are made up of waves.

These are probably the three most important things to consider when painting waves. Let's file that information, and look at a couple of photographs to see whether that holds true.
Your Homework:
Go out into the world, on a beautiful day. Look for these rules. Now, go out into the world on a crappy day. Lots of wind and murky water. How far into the face of the wave can you see? What light is reflected on the back of the waves? How is the wave affected by all of the smaller waves?

Go and enjoy a sunset. Again, see how the light affects the wave. Does the face of the wave reflect the light? You will start noticing things you haven't seen before. Now - off you go into a painting waves frenzy!
Whitewash:
So far, we're discussing the aspects of an unbroken wave.
The rules for a broken wave are entirely different. A broken wave is fundamentally aerated water.
To varying degrees, it is pretty much opaque. This means that it casts shadows. Sometimes these shadows are cast on the whitewash itself. Sometimes if the water is clear enough, and in the right light, the shadow will be cast on the bottom.

Start looking at whitewash in detail.
It's not a bad idea to take some photographs and see if you can find the "structure" and shapes that whitewash makes.
Lucky for us that when you find it, a loose pattern becomes obvious. Look for the shadows? Where are they darker? This discovery will take much of the discomfort out of painting it.
The thing that will make the most difference about painting whitewash is the light. For all intents and purposes because whitewash is "white", it will reflect lots of the colours around it. Remember the homework? You watched waves with that spectacular sunset, remember the colour the whitewash was tainted. This can be one of the most magnificent experiences. Absorbing that subtle "peach" shade can be intoxicating as it dances toward you. Life is good.

Oops - back to the story. We've spoken about waves, we've spoken about whitewash. Let's put the two together.
Whitewash. Another rule:
The steeper and more powerful a wave, the higher the whitewash will bounce. If a wave travels into shallow water very quickly, it will rear up steeply, turn over itself projecting its tip forward. This will hit the water in front and will bounce, up and forward, trapping lots of air. A very powerful wave will "bounce" its whitewash higher than the face of the wave.

Sometimes the wave will have so much force that the air trapped inside it will explode out the back. This can drag up sand and weed. A steeply breaking wave will form a wonderful tube. This is, for me, one of the most compelling things about painting waves. As someone who surfs, 'tis a magical thing.
A wave with less energy, will crumble over itself and the whitewash will not be higher than the face of the wave.
So....... steep powerful waves will have a high whitewash "wall", gentler ones a smaller "wall" of white water.
Ok, this is the basic information you need to consider whilst painting waves. Hopefully this will help.

For a bit more help click here for a special "recipe" for a beautiful, luminous wave. I use Artists quality acrylic paints by Chroma Australia, Atelier Interactive and Atelier Free Flow.
Then….go to the beach, suck up those moments....... and paint' em!
For more information on painting waves check out my brand new tutorial Wave Fundamentals. Only AUD$34 for the downloadable version.
Learn the basics of anatomy and behaviour of waves, and learn how to create two styles of waves with this step by step guide, including colour mixes and heaps of real world examples to help cement your knowledge.

Search This Site:

WTH is Acrylics Anonymous?
For more great painting tips, subscriber only specials and zingin' humour (hmmm, maybe?), subscribe to our monthly e-zine, Acrylics Anonymous. It’s fast, free, and we don’t send you junk. As a valued subscriber, you can purchase our 3 pack of downloadable how to paint with Mark Waller DVDs for only $80, or our downloadable V-log “Coral Reef - Underneath” for only $12.
See your subscription confirmation email for more details.
Subscribe here:
Recent Articles
-
Storm Coming
Mar 25, 24 09:41 PM
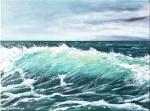 I repainted over an old canvas. This painting just painted itself in under an hour. I didn't even have a fixed reference in mind - it just seemed to flow.
 -
Upcoming Workshops with Mark Waller
Mar 05, 24 11:09 PM
 Upcoming workshops & tutorials in your local areas, check here!
 -
Workshops past. Been & gone. Delve into past notes, info and stories.
Feb 26, 24 09:42 PM
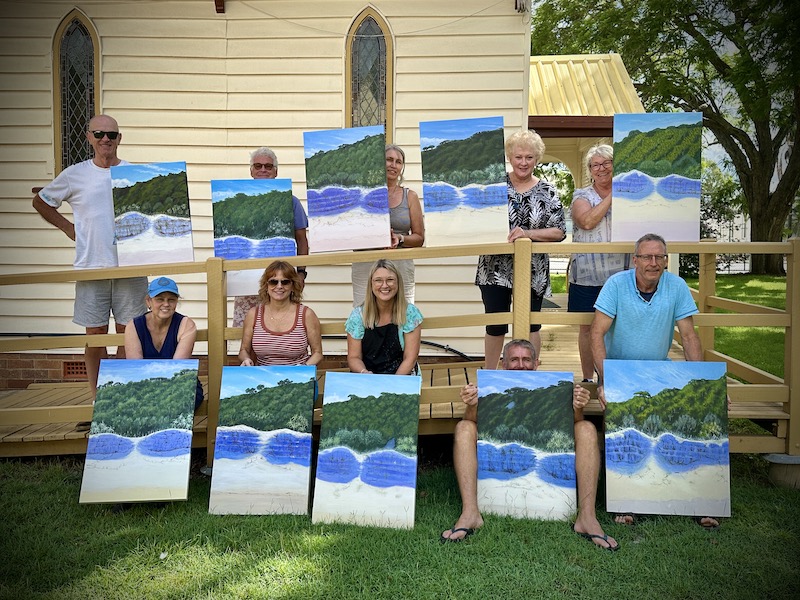 Mark Waller's workshops past - discover what was learned about, talked about, laughed about and consumed with gusto!
 Subscribe to this site!


![]()
About Us | Contact Us | Sitemap | Disclaimer | Privacy
Our Partners:
Copyright© 2007- All Rights Reserved
New! Comments
Have your say about what you just read! Leave me a comment in the box below.