
How to Paint a Mural!
Learn How Mark Does It.
A simple formula for learning how to paint a mural.
A mural can take hundreds of different forms. From a simple silhouette-like branch that runs up a wall, to an elaborate and realistic trompe l'oeil.
Whatever your choice, when learning how to paint a mural, there are a couple of little tips I can give you to make the process easier.
How To Paint a Mural - The Surface
The first thing to consider when learning how to paint a mural, is the surface. Have a good look. You need to make sure the surface is ok to paint on. Does it need to be filled? If so, start mixing plaster (or call your local tradie). Wear a mask when sanding plaster.
What is the surface already painted with? Acrylics will not stick well to a gloss enamel surface.
A great way of finding out what you are about to paint onto, is to put some methylated spirits on a cloth, and rub the surface somewhere unobtrusive. If it is painted with acrylics, some of the colour will come off on the cloth. If painted with enamel, nothing will happen, and this becomes a much bigger job.
You'll need to give the surface a light sand, and apply a good quality primer. Sometimes that means using an oil based product, which takes a long time to dry and is smelly and messy to clean up also. (Remember we love acrylics on this site). It's important to do a little bit of research about the best way of preparing your surface, before learning how to paint a mural.
How To Paint a Mural - Setting Up
The second thing, (and may be cheating), and possibly the most important, is just two words. Overhead projector. The purists out there will squirm in their seats. BUT. Drawing something out on a piece of acetate and projecting it straight onto the wall is probably the fastest way to get the shapes and proportions right.
I'm lazy and can't be bothered finding a projector, so I draw straight onto the wall. You just need to make sure the proportions are ok. Drawing something with a piece of chalk is a good get-out-of-jail-free option. Any mistakes can be quickly wiped out, and you can make adjustments quickly.
How To Paint a Mural - Early Stages
When you have all your proportions correct, and a pretty good idea of where everything goes, it's time to block it in. There are probably a thousand ways of learning how to paint a mural. My way is to rough in all of the large areas first, in the same way I would if I was doing a painting on canvas. This will give you a much clearer sense of proportions.
Once everything is roughed in, it is time to come back and start adding some detail. Because a mural is usually quite large, if you start adding in all the detail, you may be there for a large part of your life. You will have to make some decisions. What can I leave out and still get away with? That of course will depend on your choice of mural.
A handy tip is to not put too much detail in the shadows. This will save you some work. Often, murals are designed to be looked at from a distance, so it is surprising how much you can leave out.
How To Paint a Mural - Middle Bit
At this stage you should have all of the large areas blocked in. This is where you would start shaping things further. You would start to build highlights on the trees for example, roughing in clouds and putting a second coat on highlights that need strengthening. You will probably still be using a fairly large brush, and be doing all of the work that doesn't require a small brush. (Ha! that was just to see if you were paying attention!).
At this point you can still move things around a little bit if needed. Although all the major areas are blocked in, it is only paint. You can still adjust stuff - and now is the time to. I try and leave all of the fine tuning till the very end.
How To Paint a Mural - Finishing Off
This is where all the smaller brushes come out, and where your mural comes to life. All the small flashes of colour are added in now, such as the figures in the background, highlights through the trees.
Usually I find that most of the "finishing off" process involves objects that are toward the foreground. The beauty of the finishing off process is that you can often clean up areas by adding those final touches.
This is a great time to make subtle adjustments by adding flashes of colour here and there. By adding flashes of red through the trees, and in various places around the image, you can "warm up" the whole mural with just a few tiny brushstrokes. This fits in beautifully with the impressionist approach.
When you are happy with your mural, it is a great idea to throw a coat of clear over the top to seal it. Your local hardware shop will have some lovely water based clear sealer. You can get matt, gloss or satin finishes. This will protect your wonderful work from beer drinking yobbos for many years to come. (Or croissant throwing angry Frenchmen). Clearly I live in a classy suburb.
This is a mural I did a little while ago, I thought I'd run you through the process. Hopefully that will fill in some of the gaps.
How to Paint a Mural - The Materials

- Chalk as mentioned
- A nice big straight edge
- Tape measure
- House Paint 500ml pots of colour
- 4L pot of white. You'll be surprised at how much you break down your pure colour with white.
- Big Palette
- Table for supplies/to work off
- Large brushes/roller if appropriate
- Water Pot
How to Paint a Mural - The Process

Because I wanted this mural to have an impressionist feel, I painted the background with some leftover red. I used the red for two reasons. One because I knew it would show through here and there, and two because the chalk drawing was going to stand out. Another reason was to have a uniform background to paint over.
I drew in all of the big shapes and areas with some chalk, like the outline of the tower and the arch, then stood back to see if it all was in proportion.

After a few minor adjustments, I blocked in all the large areas such as the sky, trees etc. I then paid attention to the shadows, and painted in all the darks.
Because it was in a French patisserie I had a baguette and some crepes. Ooh lala. I needed some sustenance before I started on the details.
At this stage, I started building up the highlights on the trees. I painted the shadows in previously on the tower, so it was now time to paint all of the lit surfaces.

Painting the shaded areas first made the process easy and helped with the illusion of depth when putting the highlights over the top. As a general rule, it is helpful to work from dark to light, and large to small.
The next part was boring and tedious. It was a long period of gradually adding the illusion of detail by placing highlights strategically. Tree trunks, figures and signs were all thrown in loosely, often just a brushstroke (at this point I'm really enjoying my decision to paint with an impressionist style).
This part of the process is a little hard to describe. It is lots of flashes of colour here and there, lots of to-ing and fro-ing. Walking back and looking at it from a distance to make sure everything looks ok.

While this all seems to have taken a short time, in actuality it took about 3 complete days to paint (and several thousand calories consumed in the form of various buttery French goodies). It's always a great idea to do a trade (or maybe not in this case).
If you are considering painting a mural, my advice (other than using an overhead projector) is to draw the image out first, in proportion on paper, and make a plan for the process. It's often not a bad idea to paint the image on a small canvas first. This can find some of your problems for you (in a much calorie-reduced environment!).

No matter your choice of mural, if you follow the above plan (as vague as it is!) it should solve some of your problems.
Follow the process and you are more likely to have fun. And that is the main aim of the game!

Search This Site:
WTH is Acrylics Anonymous?
For more great painting tips, subscriber only specials and zingin' humour (hmmm, maybe?), subscribe to our monthly e-zine, Acrylics Anonymous. It’s fast, free, and we don’t send you junk. As a valued subscriber, you can purchase our 3 pack of downloadable how to paint with Mark Waller DVDs for only $80, or our downloadable V-log “Coral Reef - Underneath” for only $12.
See your subscription confirmation email for more details.
Subscribe here:
Recent Articles
-
Storm Coming
Mar 25, 24 09:41 PM
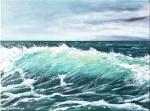 I repainted over an old canvas. This painting just painted itself in under an hour. I didn't even have a fixed reference in mind - it just seemed to flow.
 -
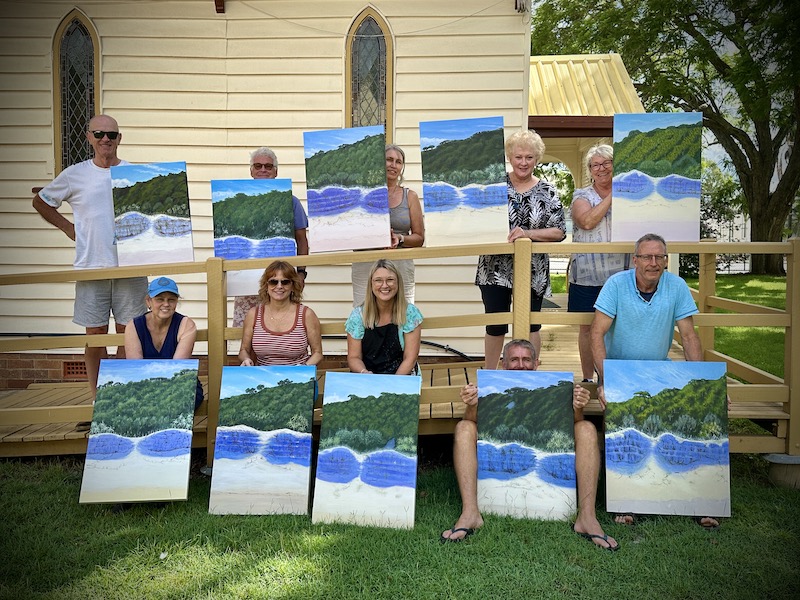
Upcoming Workshops with Mark Waller
Mar 05, 24 11:09 PM
 Upcoming workshops & tutorials in your local areas, check here!
 -
Workshops past. Been & gone. Delve into past notes, info and stories.
Feb 26, 24 09:42 PM
 Mark Waller's workshops past - discover what was learned about, talked about, laughed about and consumed with gusto!
 Subscribe to this site!


![]()
About Us | Contact Us | Sitemap | Disclaimer | Privacy
Our Partners:
Copyright© 2007- All Rights Reserved
New! Comments
Have your say about what you just read! Leave me a comment in the box below.